We may have done this completely the wrong way, but these are my thoughts on the matter.
One thing that you want to do is spend as much time as you can on this part of the process. You want a "perfect" plan before you start building a house. The more changes you make while building, the longer it will take and the more the cost overruns. Don't rush the discussions or the design.
Step 1: Requirements
Before you start any discussions with an architect, even before you choose an architect, make sure you've listed all your requirements. You don't hire an architect who specializes in modern lines and then realize that you want something traditional.
Here were our requirements, in no particular order:
- 1. Traditional sensibilities: We both like red oxide flooring, open verandahs, courtyards and tile roofs. Neither of us likes the "modern" look that so many houses in Bangalore seem to have these days. We're not saying that it has to be uber traditional, but we like the sensibilities.
- 2. Courtyards, verandahs and openness: We wanted an open space where there wasn't a defining line between outside and inside. The indoors should be open and they should flow into the outdoor spaces.
- 3. A large kitchen.
- 4. General guiding statement: No such thing as too much utility space.
- 5. An office space that is accessible from outside so that visitors would not have to trudge through the house.
- 6. A large garden.
- 7. The ground floor on one level, with a large bedroom there. All of which should be wheelchair friendly.
- 8. A rehearsal space. Well, a flexible open space where we could have rehearsals, jam sessions, or a place where I could play around with my manly tool kit or papier mache dolls. With an easily accessible toilet.
- 9. A sustainable house: Rain water harvesting and storage. Water recycling. Wired so that when solar technology and batteries becomes cheaper and safer in the next few years, we'll be able to just plug them in.
- 10. No marble or any other high maintenance materials.
- 11. We don't care about vastu .
Some of these are quite vague and some of these were quite specific. They're all important. We didn't compromise on the spirit of any of these. Don't be afraid to add things or modify specifics as long as the spirit is there.
You'll notice that, except for bedroom on the ground floor, we haven't really talked about layout. This is the job of the architect. Before we started, I had the idea of an internal courtyard that you see in really traditional houses.
Mistake # 1: Don't try and be too specific about layout. That's what the architect is for. State your requirements and let them put it into a plan.
Our architect pointed out very early on that this isn't really feasible in a plot like ours because it takes up too much space. However, when we get our own farm (to sustain us through the coming apocalypse), we're going to have a lovely internal courtyard and be as traditional about it as we want.
Step 2: Discussion and understanding
Here our architect sat us down and had long involved chats with us about what we wanted and why. Questions about what we like to do in our spare time, what our daily routine was like… Some of the questions were tough because we hadn't gotten married yet and we hadn't moved in together!
He also visited the site and got a feel for the neighbourhood so that the house design would fit in with the surroundings.
All this is vitally important because your architect is designing the building that you will be living in for, hopefully, the rest of your life. This is time well spent.
Step 3: The first plans
The first plans will be bad. Just like the first draft of a novel. This is a fact. Your architect is still trying to figure you out. They're trying to figure out your requirements. You're still trying to figure out your requirements.
It's a start of a long journey, keep that in mind.
Mistake # 2: We (my wife and I) tried to fix the problems with the layout. What we should have been doing is identifying all the problems and / or concerns and asking our architect to fix it.
We moved rooms to odd places and ended up with a plan where you have to walk through a laundry room to get to one of the bedrooms. This didn't solve any problem and made many more problems. And that was only one thing we did.
Instead trying to move things around, ask yourself "what is wrong with this? Why do I feel that this is wrong?"
You'll get an interesting answer like: The utility spaces are not large enough and seems to be woven into the living areas. Once you give this feedback to an architect, they can work with it and actually come up with a better plan.
Step 4: Changes and refinement
At some point, we felt that we were hitting a wall with our architect. So we sent him the following email.
When we first met you, you were full of really far out ideas. I remember, at our first meeting, you pulled out a model of a cooling tower. On our second meeting, we had a long conversation about a two story kitchen and solar cooking! These ideas were, quite frankly, scary.
But that's why we hired you! We wanted an architect who would challenge our notions and constantly push us to try new things. We want to be at meetings where you will come up with far-out ideas and we will pull them back or trim them down.
The design at this point doesn't really push the envelope. It's certainly different and interesting, but we would like to see more of that first person we met. We want to see interesting and weird environmentally sustainable ideas... If you want a cooling tower, put it in and sell it to us! Please don't hold back, have fun!
We'll play the role of editors, and we'll trim it down or cut it out if we're too uncomfortable with it.
That made things much better. And we had many long fruitful discussions and arguments after that. Just like running a business, you don't want to surround yourself with Yes Men. We won some arguments, they won some arguments. In the end, the house has evolved much better.
After this, it's a lot of sitting around, picking at things, moving walls slightly… lots of tiny changes.
Mistake #3: We asked our families for their opinions.
Two head are better than one, but too many cooks spoil the broth (and don't count your chickens when they are in one basket). They had too many ideas, often conflicting with what you want and with each other. Choose one or two trust worthy people who have run households. Their feedback is very good.
Also, they will tend to commit mistake #2. Listen to what they say and try and figure out why they feel that way. Communicate the "why" to the architect.
That's about all I have to say. It's a long process. We've been at it for more than a year. But it's a year well spent.Now that we've started building. We don't have to worry about making changes to the plans.
Next up: How our plans evolved, and how the construction is going.
 We started foundation work on the site last week. The first part to be completed was the north east rain water sump so that we shored up our neighbour's walls.
 I am amazed everyday at the amount of skill and precession that is required to build something. I am also sickened that these people, who actually have real skills, get paid less than HR executives and call-center automatons. Also, things haven't changed that much in terms of tools... Plumb Lines for verticals and a pipe filled with water as a leveller.
 This is all good news. The sump works, clearly. And we have extra water that we are now using in the foundations.
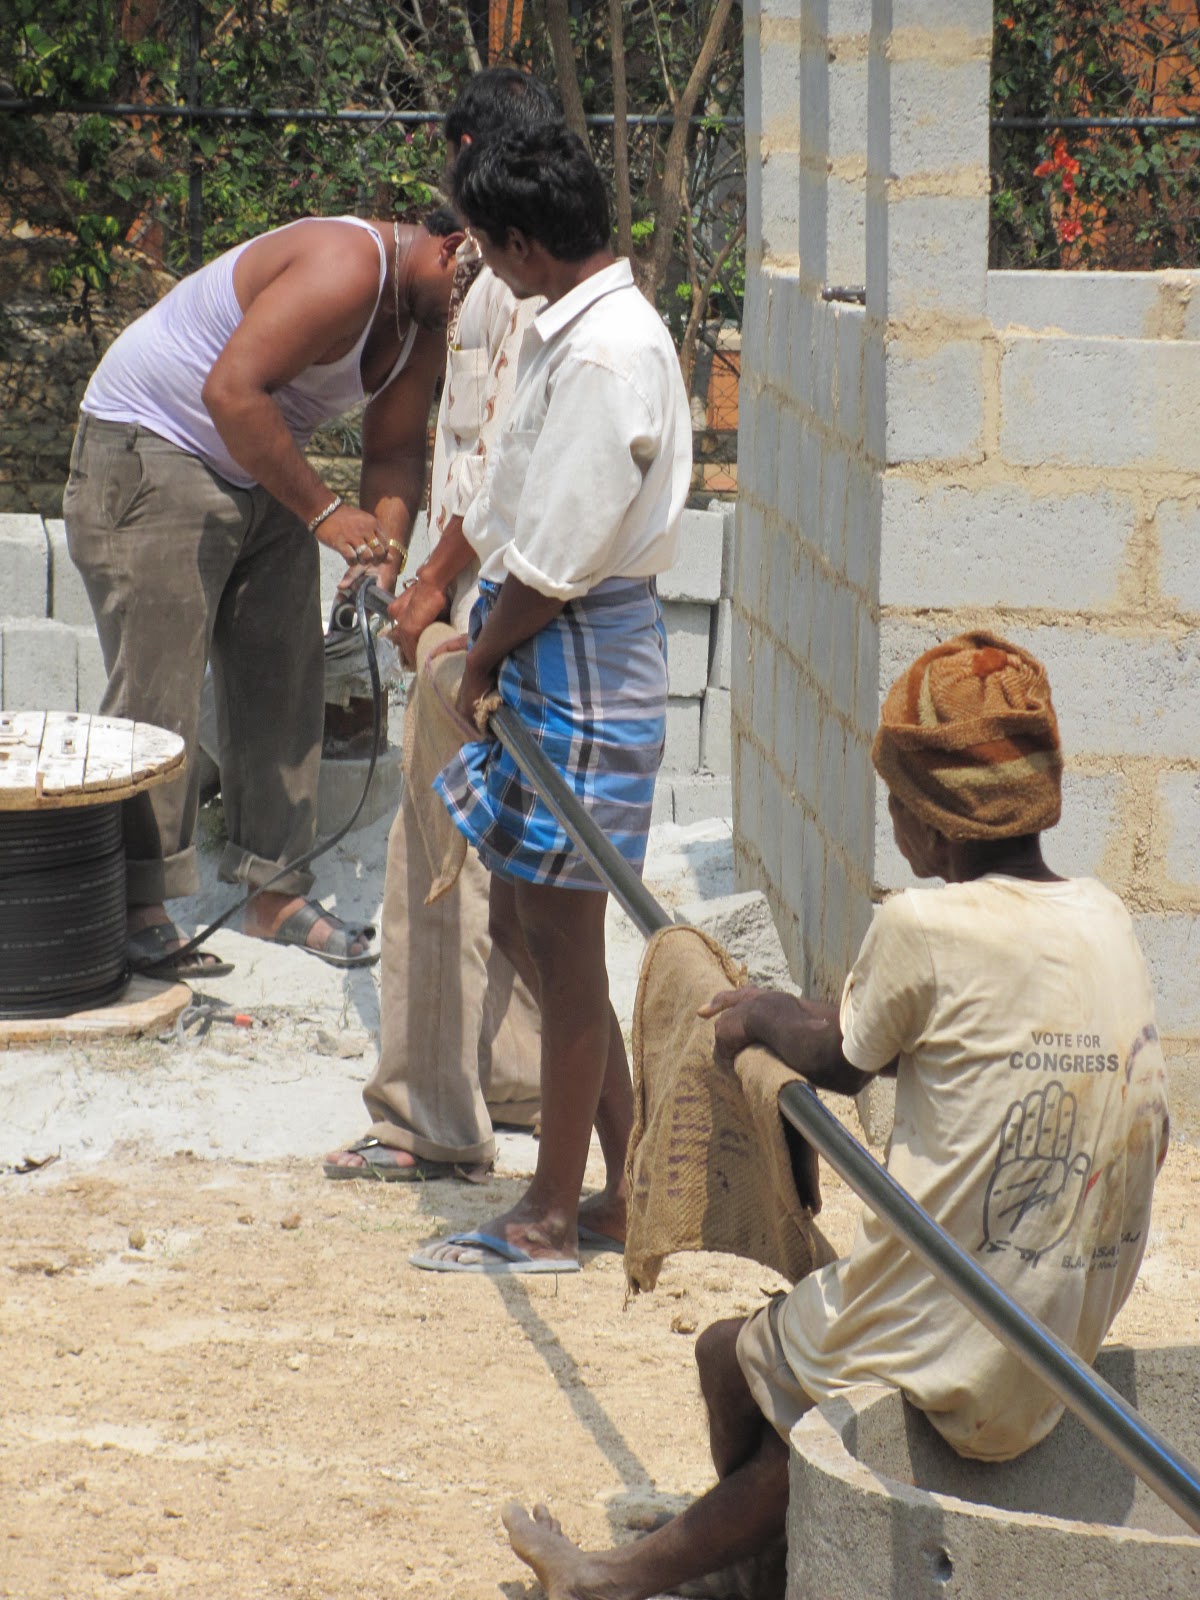
 The pace is picking up on the site, and there are a lot more people doing various things: mixing cement, laying the foundations, shifting materials, measuring, digging. It's quite fascinating to sit and watch. You get sucked into it sometimes. Until you are told to move by someone carrying a heavy load of mixed cement.
 This is what the foundations are looking like right now. If you're wondering why the lines aren't straight it's because the house is full of odd and interesting angles. Which makes the measuring and building even tougher.
 This is what a foundation looks like. They dig really deep and pack it up. There's going to be another 3 feet or so above this before you hit "plinth level." That's the level where you have the slab on which your place your floor. The stacked cement bricks just above the trench end at floor level. The plot itself slopes down about 4 feet, from east to west. We've taken a decision to keep the floor level one foot above road level. This means that the house is going to be quite high and we're going to have to fill in the garden on the west side and build a retaining wall.
 The little red mark is where the floor is going to be. This is on the north east side of the plot, marked against the neighbour's wall. The man on the left is Ravi, the site engineer.
 This is what a cross section of one of the thicker walls looks like. After this, they fill it with irregular rocks and cement. We had to buy the rectangular rocks. But we will be filling it with the rocks that we have been quarrying to dig out the sump.
 And that's a lot of rocks right now. There was some kind of sorting going on when I landed up there.
 Another major component is sand. Which comes in by the lorry load.
 This is my favourite picture of the site so far...